Collaboration
Donotname is built for teams. Multiple users can work on the same base simultaneously, with changes synced in real time. This guide covers how to set up collaboration, manage permissions, and share data with others.
Real-Time Editing
Donotname uses real-time synchronization powered by ShareDB and Socket.io. When two or more people are viewing the same table:
- Cell edits appear instantly -- when one user changes a cell value, all other viewers see the update immediately
- Presence indicators -- colored cursors or highlights show which cells other users are currently editing
- No conflicts -- the system uses operational transformation to handle simultaneous edits to the same record, so changes are never lost
- Works across views -- real-time sync works in Grid, Kanban, Calendar, Gallery, and Form views
What syncs in real time
- Record field values (creates, updates, deletes)
- New records and deleted records
- Field configuration changes (type, name, options)
- View filter and sort changes
- Kanban card movements
Spaces and Members
Space Membership

Spaces are the top-level organizational unit. To collaborate, invite team members to your space:
- Open the space settings (click the space name in the sidebar, then the gear icon)
- Go to the Members tab
- Click "Invite Members"
- Enter email addresses (comma-separated for multiple invites)
- Select a role for the invited members
- Send the invitation
Invited users receive an email with a link to join the space. If they do not have a Donotname account, they can create one during the join process.
Space Roles
| Role | Description |
|---|---|
| Owner | Full control over the space, including billing, member management, and all bases. Cannot be removed. |
| Admin | Can manage members, create/delete bases, and configure space settings. Cannot change billing or transfer ownership. |
| Member | Can access all bases in the space. Can create, edit, and delete records. Cannot manage space settings or members. |
| Viewer | Read-only access to all bases. Can view records and export data but cannot edit. |
Transferring Ownership
Only the current owner can transfer ownership:
- Go to space settings > Members
- Click the role dropdown next to the target member
- Select "Transfer Ownership"
- Confirm the transfer
Base-Level Sharing
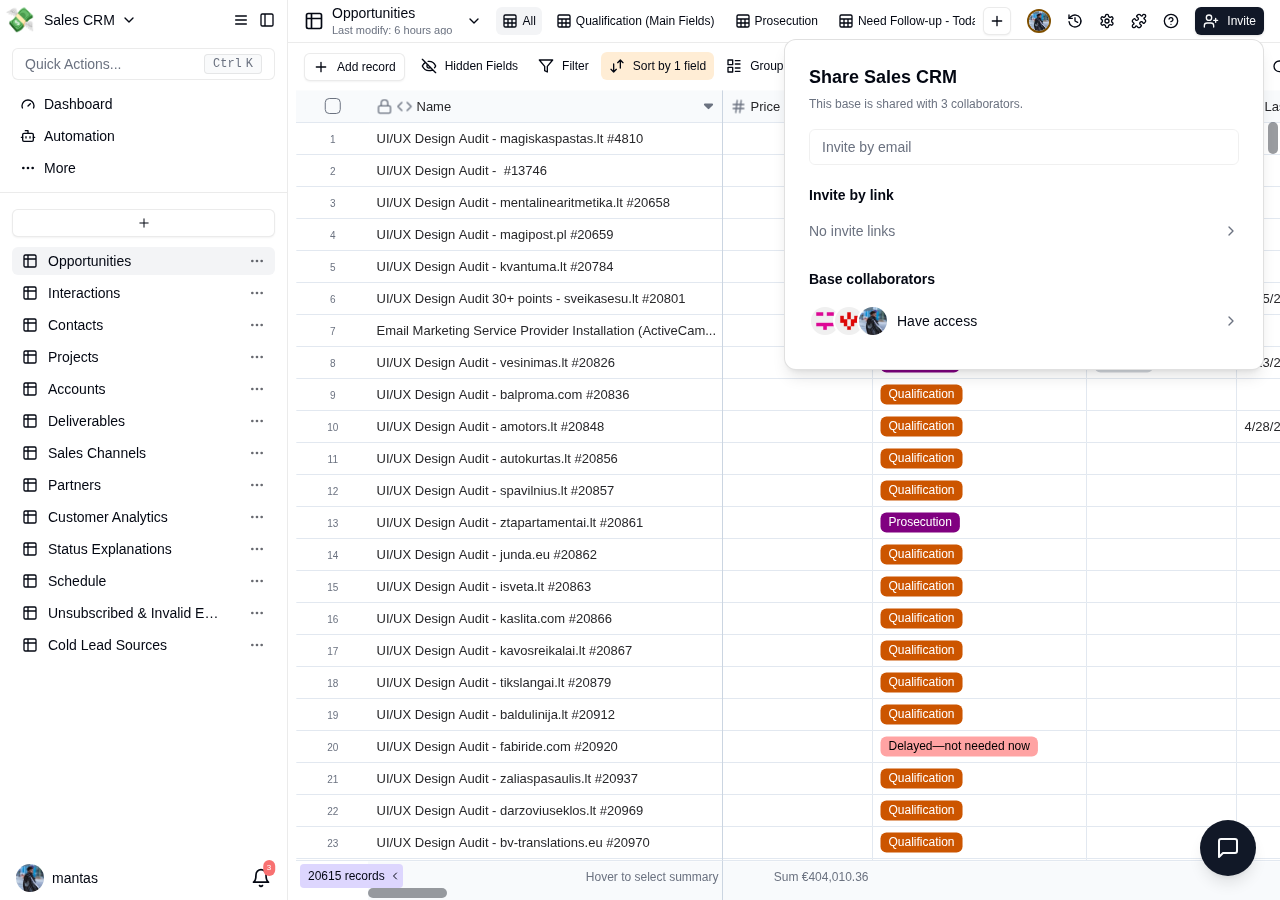
In addition to space membership, you can share individual bases with people outside the space:
- Open a base
- Click the Share button in the top bar
- Choose a sharing method:
Invite by Email
Enter specific email addresses and assign a permission level (Editor or Viewer). The invited user gets access only to this base, not the entire space.
Share Link
Generate a link that grants access to anyone who has it:
- Editor link -- recipients can view and edit records
- Viewer link -- recipients can only view records
- Password-protected -- optionally require a password to access the link
Embed
Generate an embed code (<iframe>) to display a view on an external website. Embedded views are read-only.
View-Level Sharing
Individual views can be shared independently with read-only access:
- Open the view you want to share
- Click Share in the view toolbar
- Toggle "Share this view" on
- Copy the generated public link
Shared views are useful for:
- Dashboards -- share a filtered Grid view as a live dashboard
- Status boards -- share a Kanban view for project tracking
- Event calendars -- share a Calendar view with external stakeholders
- Portfolios -- share a Gallery view of visual content
Public view links show the current state of the data in real time. Viewers cannot edit records through a shared view link.
Form Views for Data Collection
Form views are a special collaboration tool that lets anyone submit records to your table without needing a Donotname account:
- Create a Form view on your table
- Configure which fields appear and which are required
- Share the form URL with respondents
Form submissions create new records in the table immediately. Use automations to send notifications when new submissions arrive. See the Views guide for full form configuration details.
Permissions Model
Donotname uses a layered permissions model:
Space Role (Owner > Admin > Member > Viewer)
  └── Base-Level Override (Editor / Viewer)
       └── View-Level Sharing (Read-only public link)
            └── Form View (Submit-only, no account needed)
Permission Levels
| Action | Owner | Admin | Member (Editor) | Viewer |
|---|---|---|---|---|
| Create base | Yes | Yes | No | No |
| Delete base | Yes | Yes | No | No |
| Create table | Yes | Yes | Yes | No |
| Delete table | Yes | Yes | Yes | No |
| Create/edit records | Yes | Yes | Yes | No |
| Delete records | Yes | Yes | Yes | No |
| Create views | Yes | Yes | Yes | No |
| Configure fields | Yes | Yes | Yes | No |
| View records | Yes | Yes | Yes | Yes |
| Export data | Yes | Yes | Yes | Yes |
| Manage members | Yes | Yes | No | No |
| Manage billing | Yes | No | No | No |
| Create automations | Yes | Yes | Yes | No |
| Manage API tokens | Yes | Yes | No | No |
Working with Comments
Records support threaded comments for discussing specific items:
- Open a record (click to expand in Grid or click a card in Kanban)
- Navigate to the Comments section
- Type your comment and press Enter
- Tag team members with
@nameto notify them
Comments are visible to all users who have access to the record. They are ordered chronologically and cannot be edited after posting (but can be deleted by the author or an admin).
Notifications
Donotname sends notifications for events relevant to you:
- @mentions in comments
- Form submissions (if configured via automation)
- Automation failures (if you own the automation)
- Invitations to spaces or bases
Notifications appear in the bell icon in the top navigation bar and are also sent via email (configurable in your account settings).
Best Practices
- Use clear field names -- when multiple people work on the same base, descriptive field names reduce confusion
- Add field descriptions -- document what each field is for, especially for complex or formula fields
- Create personal views -- each user can create their own filtered/sorted views without affecting others
- Use Kanban for handoffs -- drag cards between columns to signal when work is ready for the next person
- Set up automations for notifications -- instead of manually pinging teammates, automate notifications when records reach certain states
- Lock critical fields -- for fields that should not be accidentally modified (like formulas or auto-numbers), the read-only nature of the field type protects them
- Review activity history -- use the record history feature to see who changed what and when, useful for auditing and debugging